Blogs

Posts Tagged ‘installation’

Fireplace Safety Guide

Posted on September 23rd, 2024 by marketing@sculptfireplaces.com.au

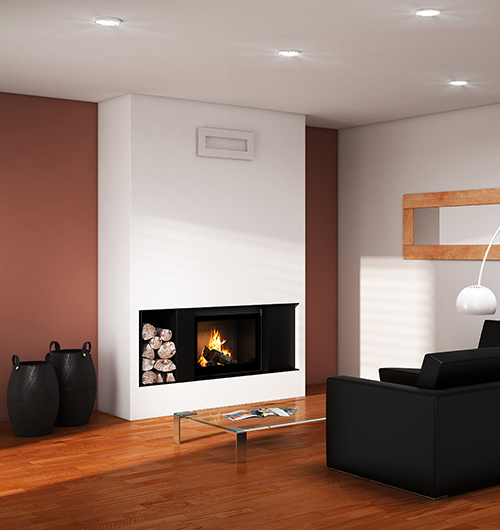
When choosing a wood fireplace for your home, fireplace safety certification is essential for protecting your family and ensuring long-term peace of mind. At Sculpt Fireplace Collection, we offer certified wood fireplaces that meet the strict AS/NZS2918:2018 safety standards, combining luxury design with optimal safety and efficiency. From minimising fire hazards to ensuring low emissions, our range of luxury wood fireplaces is designed to enhance your home while prioritising safety. Explore how the right fireplace can elevate your space without compromising on safety or style.

When it comes to enhancing your home with a wood fireplace, safety should be your top priority. At Sculpt Fireplace Collection, we understand that true luxury comes not just from stunning design, but also from peace of mind. Let’s explore why fireplace safety is crucial and how our certified fireplaces meet the highest standards.

The Importance of Fireplace Safety Certification

In Australia, fireplace safety is governed by the AS/NZS2918:2018 standard. This certification ensures that wood fireplaces are:

Safe for Home Use: When installed correctly, certified fireplaces minimise fire risks.

Environmentally Responsible: They must meet strict emission standards, protecting both indoor and outdoor air quality.

Sculpt Fireplace Collection: Where Safety Meets Luxury

At Sculpt Fireplace Collection, we pride ourselves on offering fireplaces that exemplify both safety and style:

– 100% Certified: All our wood fireplaces are tested and certified to the Australian Standard, ensuring maximum safety.

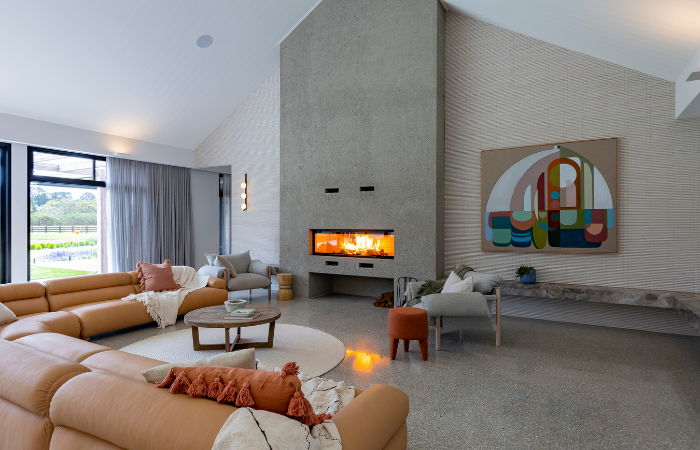
– Design-Forward Safety: Our luxury fireplaces prove that safety doesn’t mean sacrificing aesthetics.

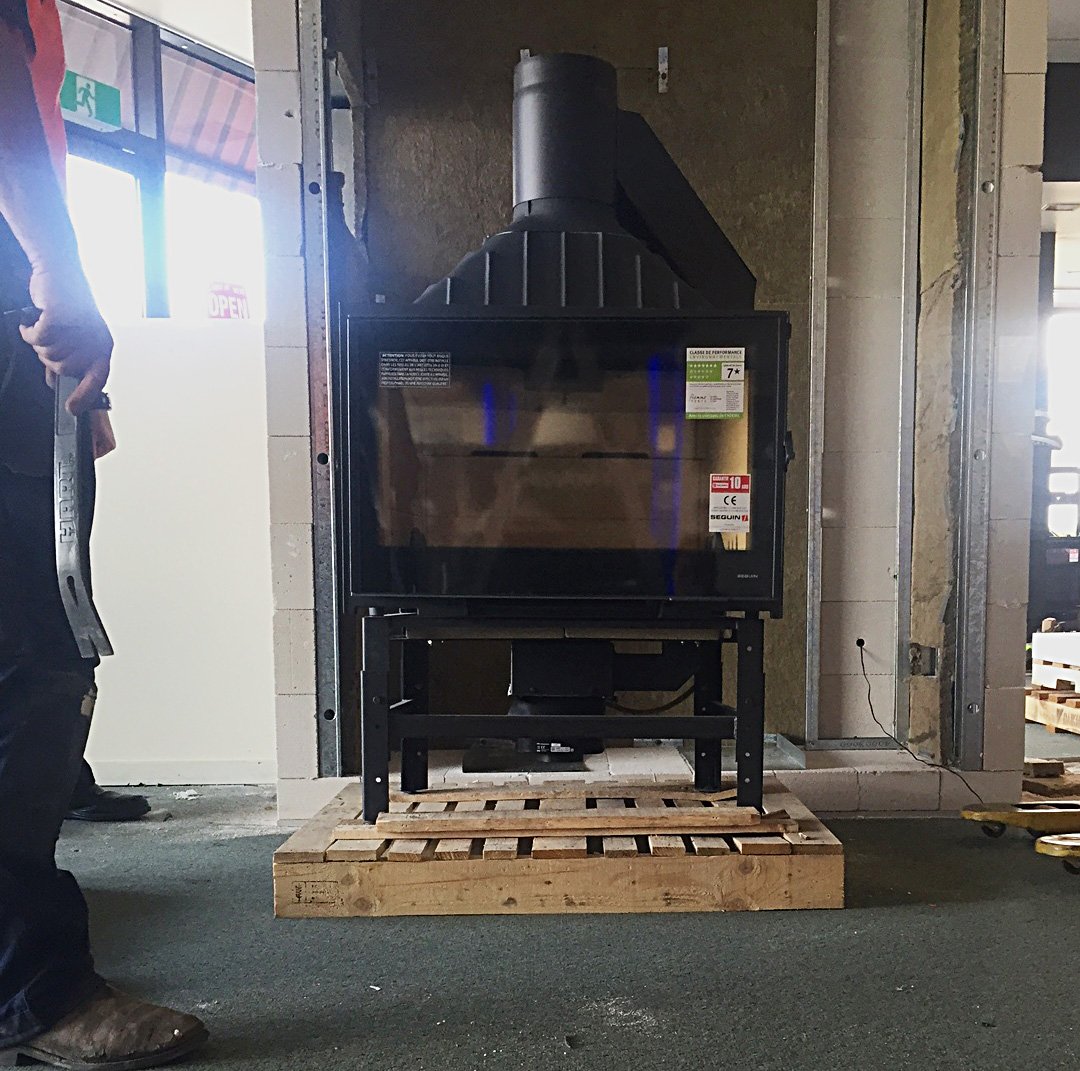
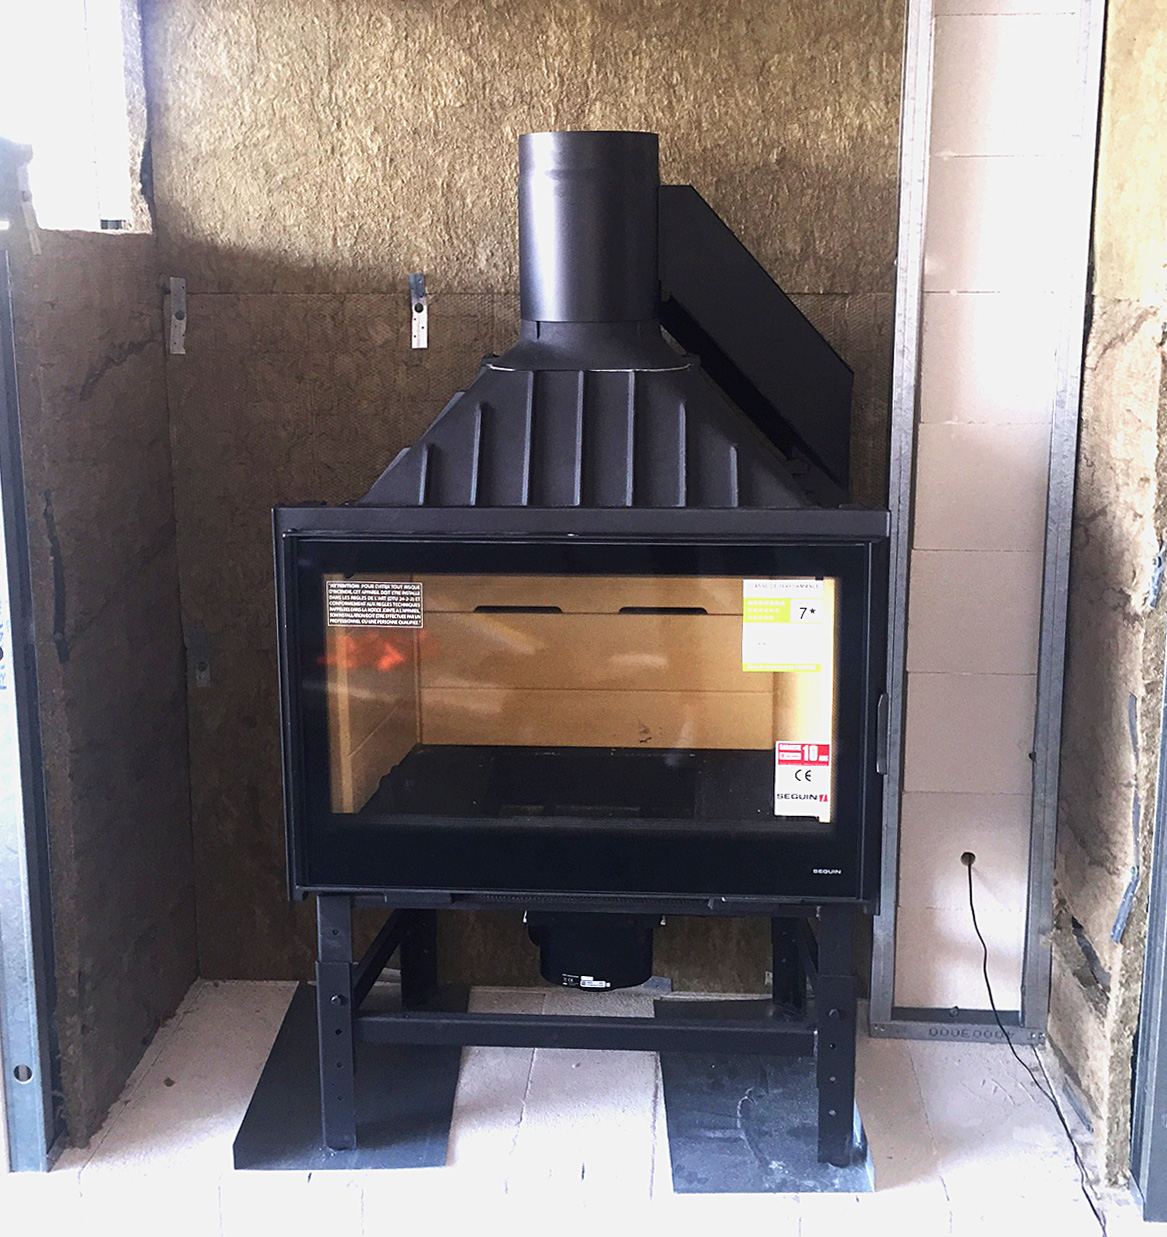
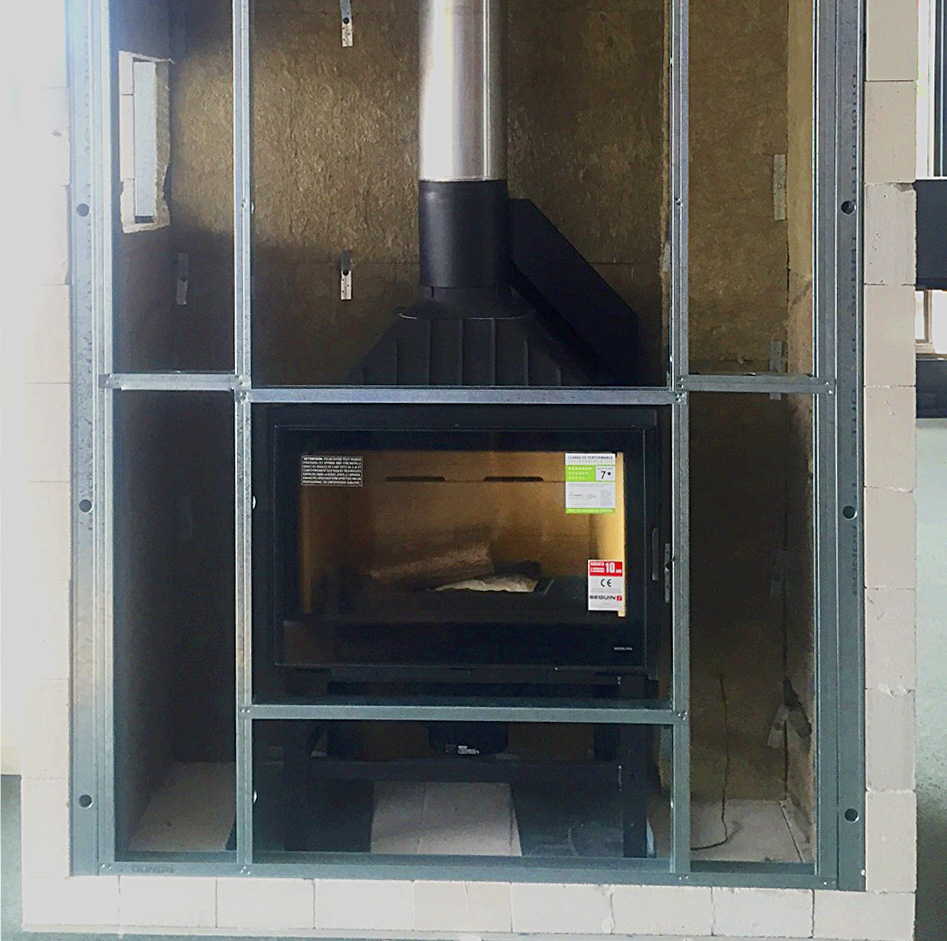
– Innovative Technology: Features like the Double Air Flow System (DAFS) in selected Cheminees Seguin Duteriez models enhance both efficiency and safety.

Key Fireplace Safety Features

Our fireplaces incorporate several safety features:

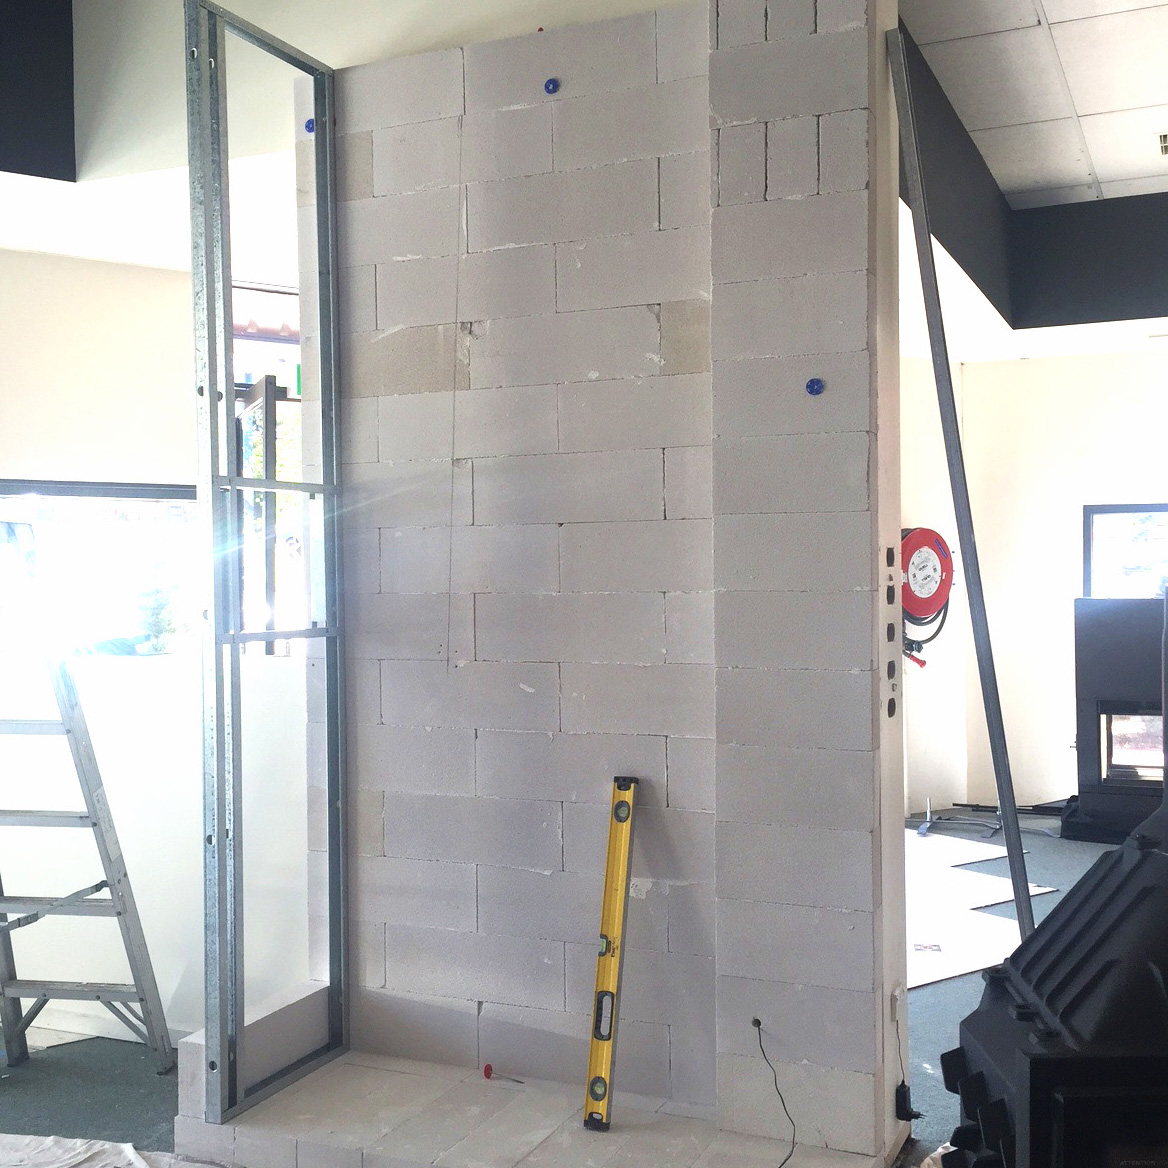
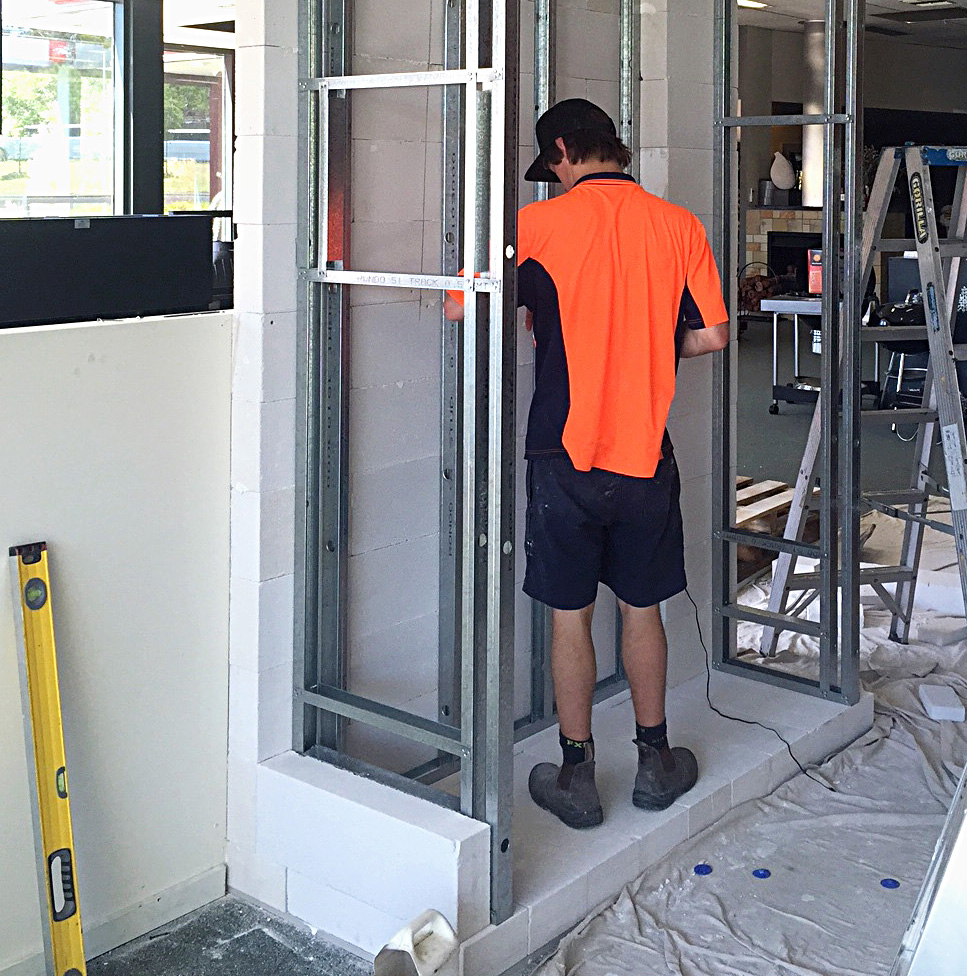
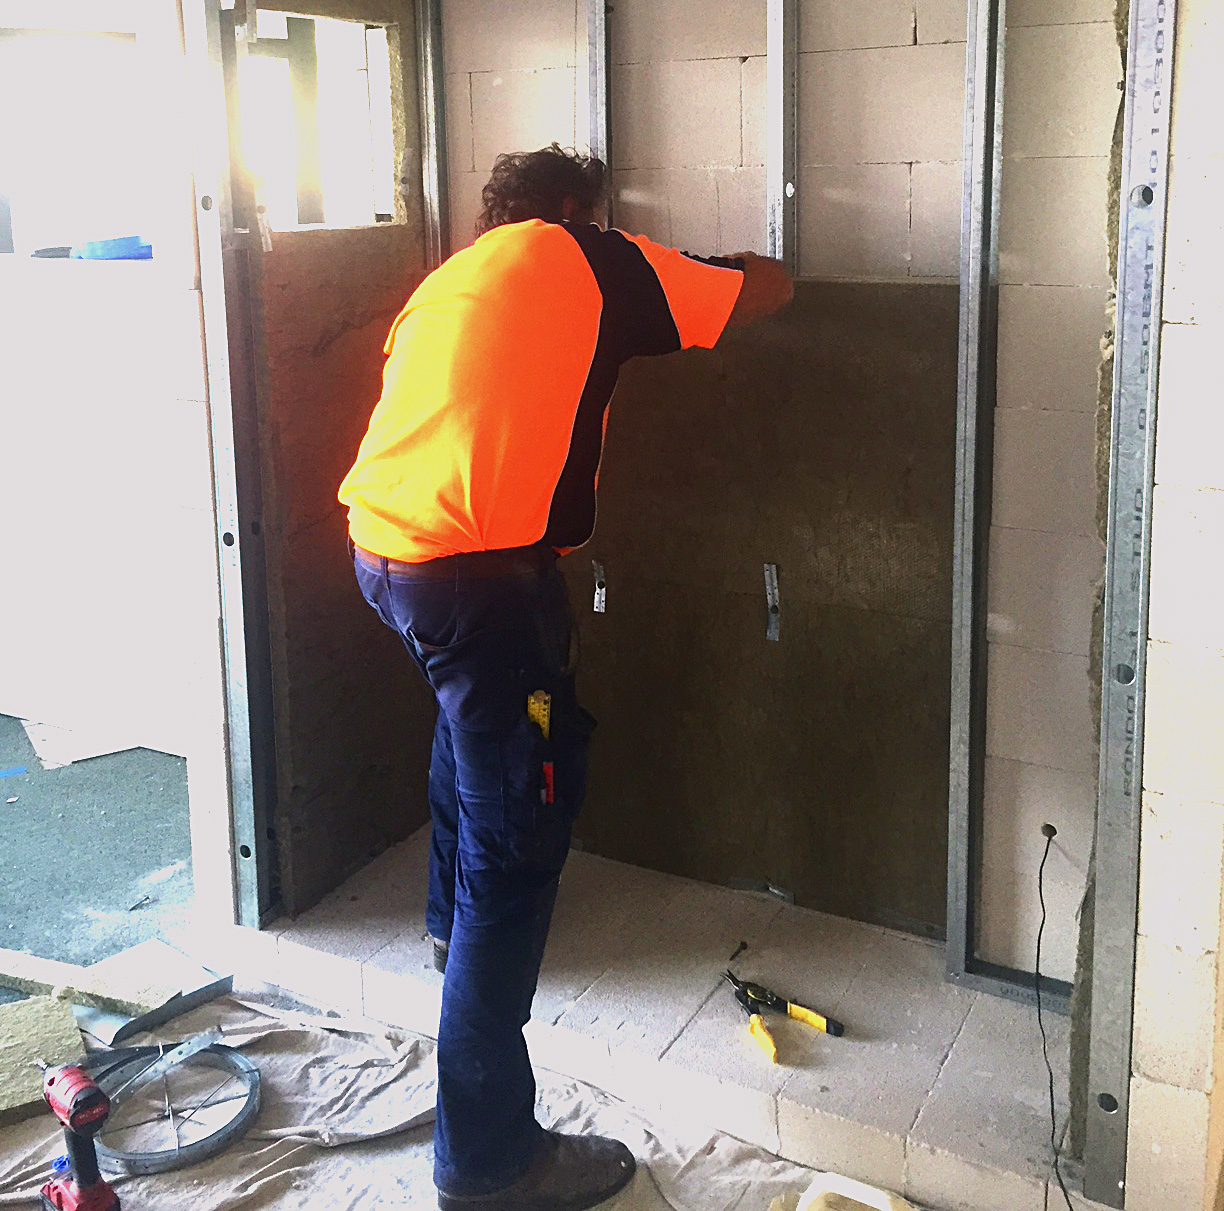
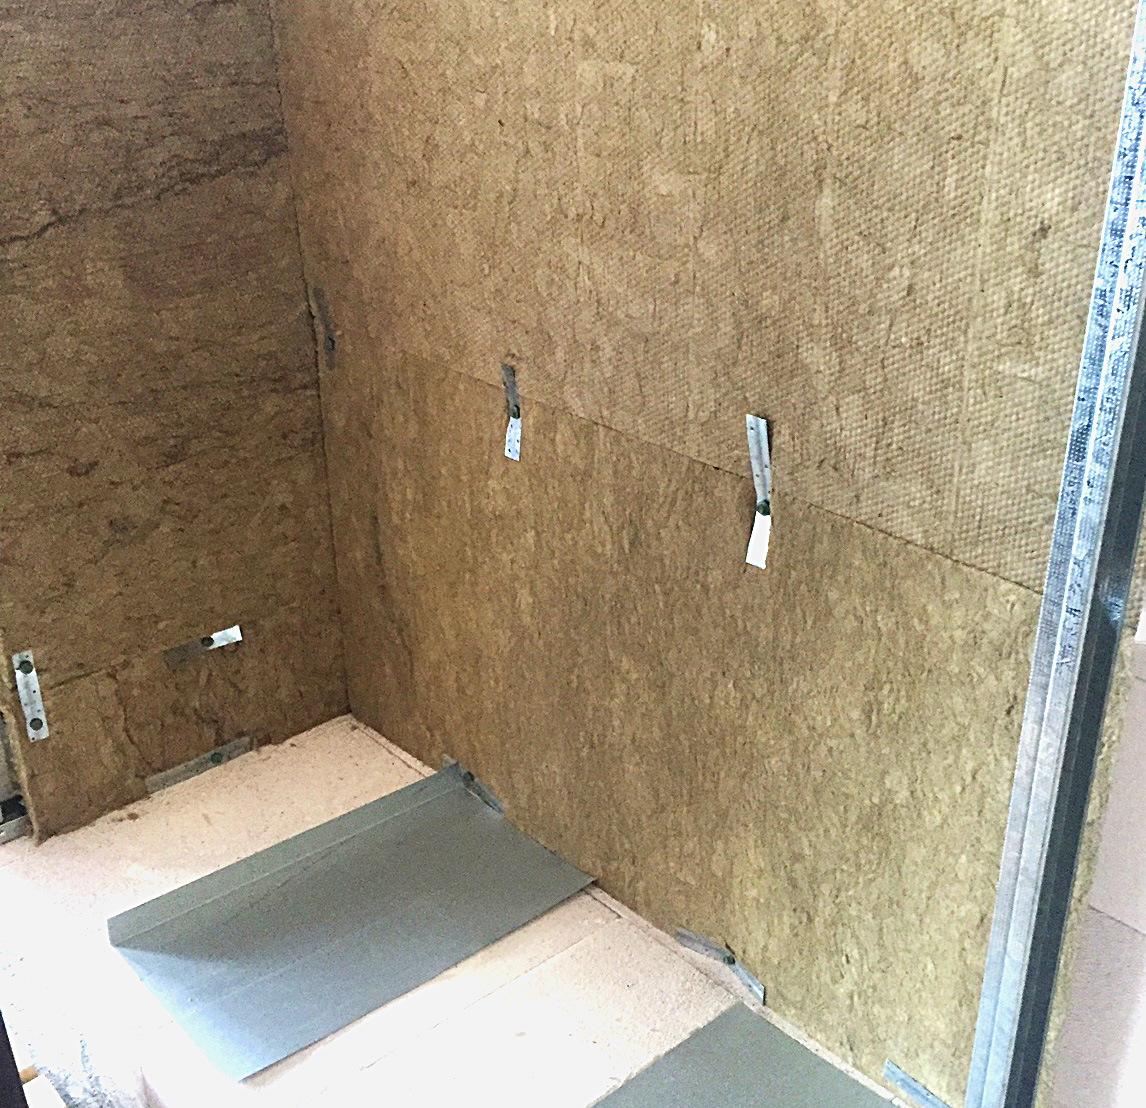
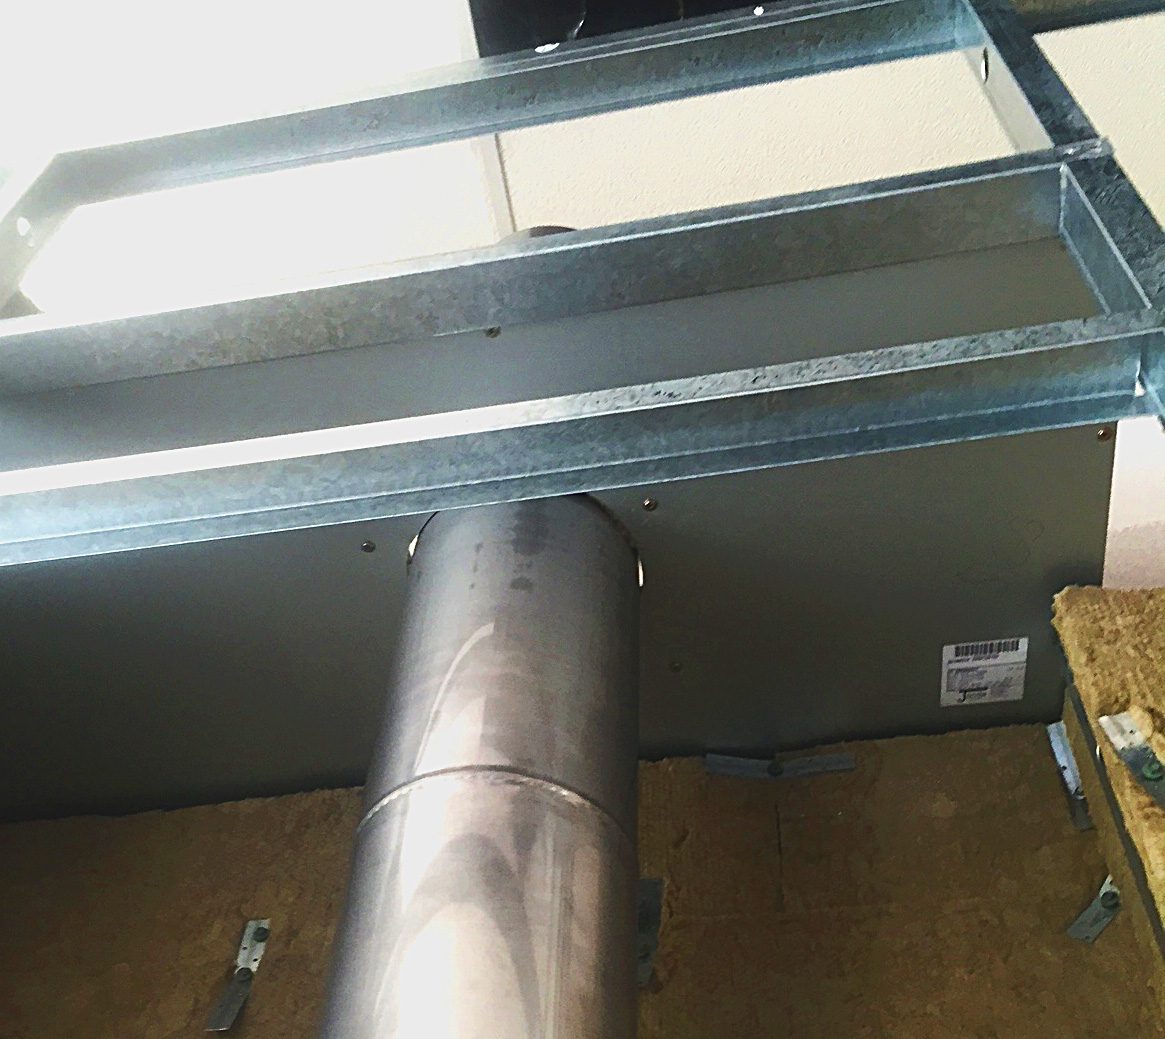
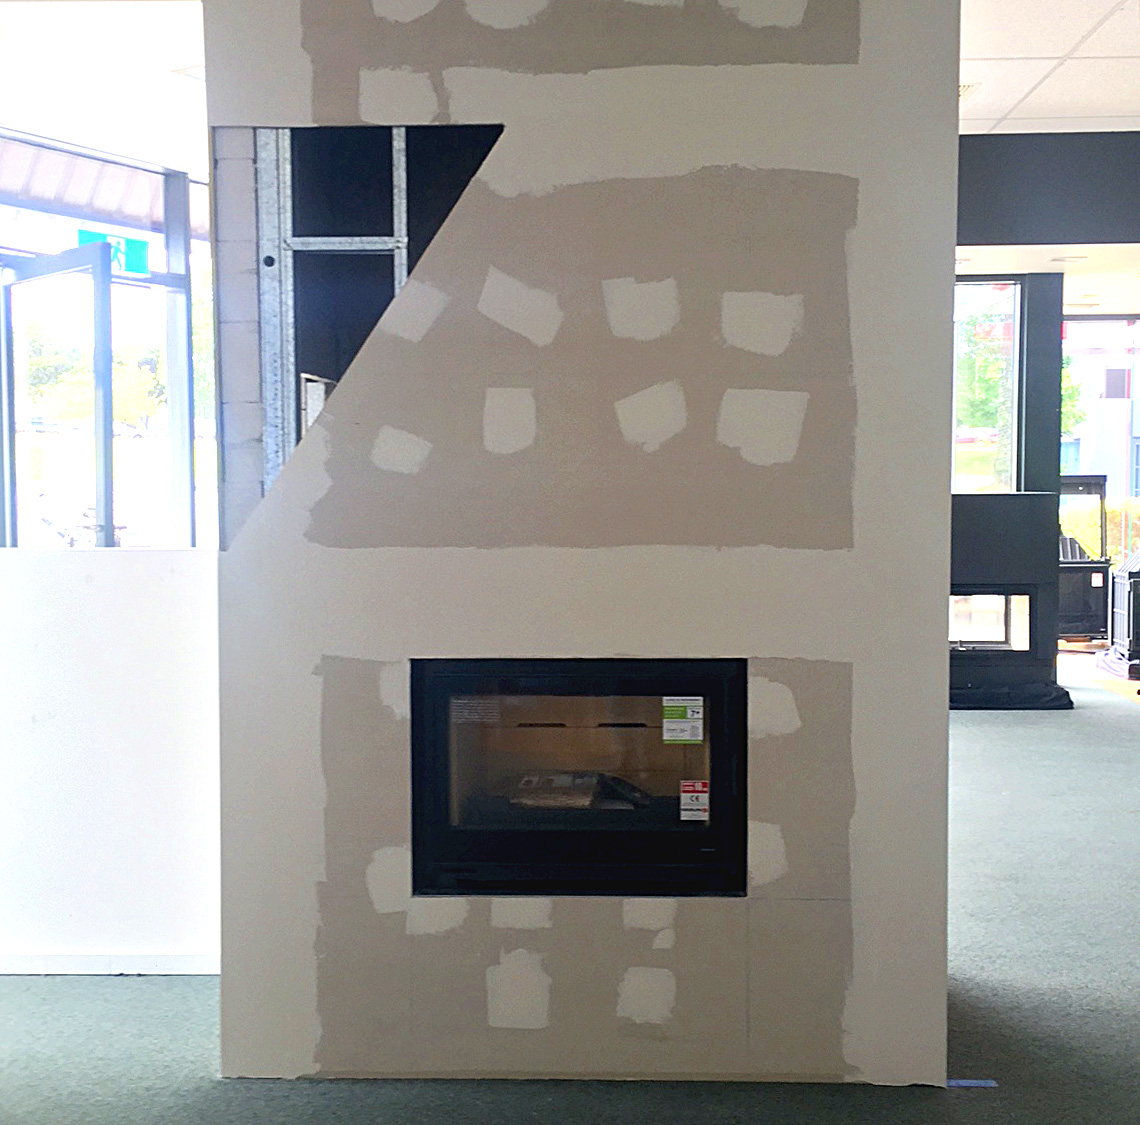
Proper Clearances: Designed for safe installation with appropriate distances from combustible materials.

Efficient Burning: High-quality materials and design ensure clean, efficient burning, reducing the risk of chimney fires.

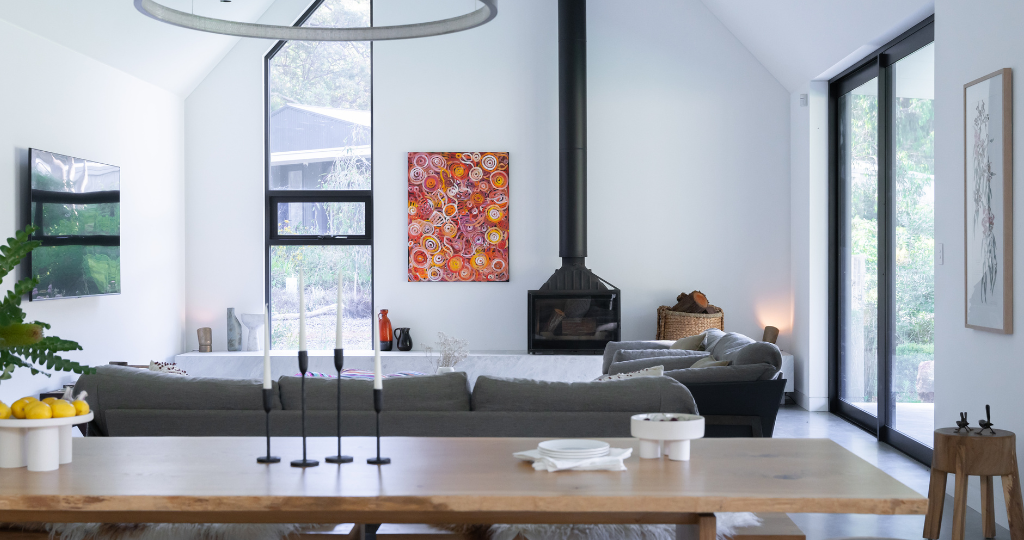
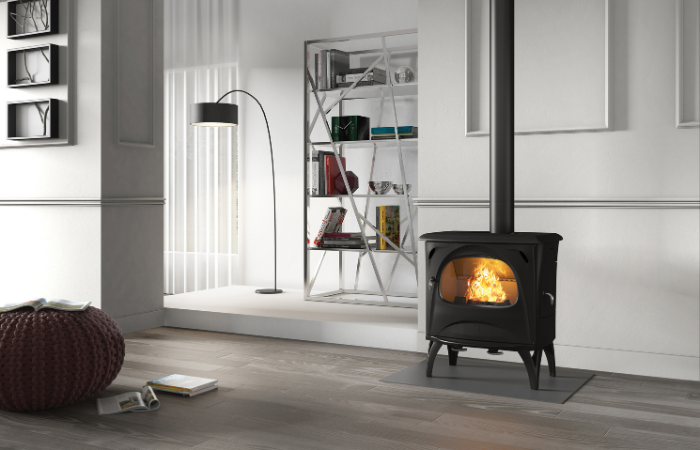
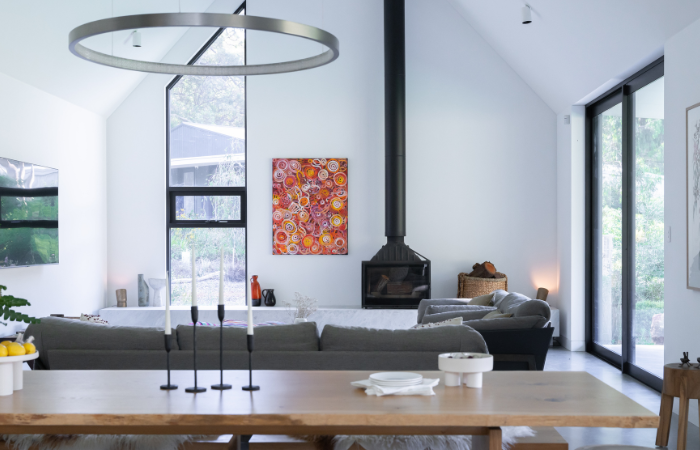
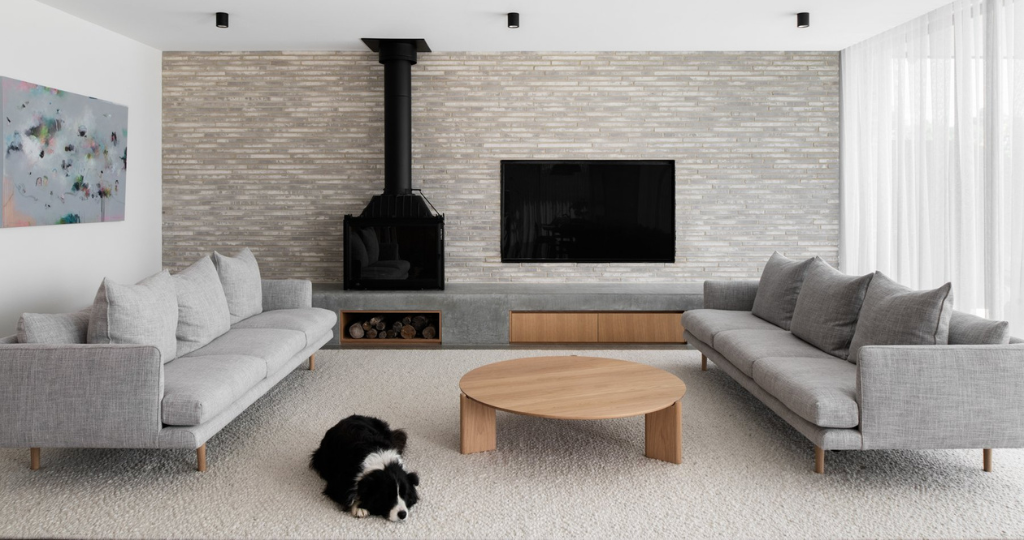
Sturdy Construction: Our cast iron fireplaces, like the Seguin range, offer durability and enhanced heat distribution.

The Risks of Uncertified Fireplaces

Choosing an uncertified fireplace can lead to:

– Increased fire hazards due to improper clearances

– Higher emissions, potentially harming your health and the environment

– Potential legal and insurance issues

jc-bordelet-eva-992-syrencot-hotel-uk

Choosing a Safe and Stylish Fireplace

When selecting a wood fireplace, prioritise safety without compromising on style:

1. Look for the AS/NZS 2918:2018 certification

2. Choose reputable suppliers like Sculpt Fireplace Collection

3. Ensure professional installation by qualified experts


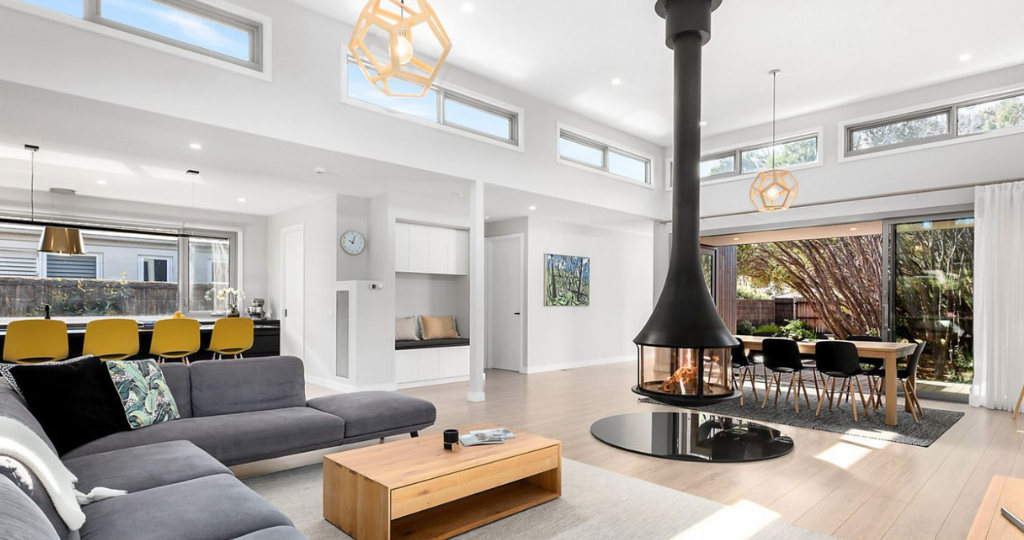
Our range, from the sleek Axis contemporary inbuilt fireplaces to the unique JC Bordelet suspended designs, offers safe, certified options for every taste.

At Sculpt Fireplace Collection, we believe that true luxury starts with safety. Our certified, design-forward fireplaces offer the perfect blend of style, efficiency, and peace of mind. Experience the warmth and elegance of a French-made wood fireplace, knowing that your safety is our top priority.

Explore our range of certified, luxury wood fireplaces and elevate your home with a heating solution that’s as safe as it is stunning.

How to Specify the Right Wood Fireplace for Your Project

Posted on May 24th, 2024 by marketing@sculptfireplaces.com.au

Choosing the right wood fireplace for your project can significantly enhance both the aesthetic and functional qualities of your space. As regulations and standards in Australia have evolved, it’s essential to be well-informed to make the best choice for your home or commercial project. Here’s a comprehensive guide to help you specify the right wood fireplace, ensuring compliance with current standards while achieving your design goals.

UNDERSTANDING NEW STANDARDS

The Australian wood heater standards were updated in August 2019, leading to significant changes in the specifications and installation of wood fireplaces. One of the primary standards, AS/NZS 4013, now requires all wood heaters to meet stricter emission controls, ensuring they produce fewer pollutants. As of the latest update, wood heaters must have emissions of no more than 1.0 g/kg. When selecting a wood fireplace, it’s crucial to confirm that the model complies with this standard, guaranteeing a more eco-friendly and efficient heater.

KEY CONSIDERATIONS WHEN SPECIFYING A WOOD FIREPLACE


Compliance with Standards

  • Ensure the wood fireplace complies with AS/NZS 4013 for emissions, specifically the new 1.0 g/kg requirement.
  • Check for AS/NZS 2918 compliance, which pertains to the safe installation of solid fuel heaters.

Heating Requirements

  • Assess the size of the space to determine the heating capacity needed.
  • Consider the climate of the area; colder regions may require a higher output fireplace.

Design and Aesthetics

  • Choose a design that complements the overall interior style of the project.
  • Decide between traditional or contemporary designs to match the decor.


Efficiency and Performance

  • Look for fireplaces with high efficiency ratings to maximise heat output and minimise wood consumption.
  • Consider features such as air-wash systems for cleaner glass and secondary combustion for improved efficiency.

Installation Requirements

  • Ensure there is adequate space and appropriate materials for installation, including hearth and clearance requirements.
  • Plan for proper flue placement to optimise performance and safety.

Building Code and Passive Homes

  • With the move towards 6+ star energy-rated homes and passive designs, new builds often require an outdoor air connection for wood fireplaces.
  • Ensure the chosen model supports an outdoor air intake to comply with these building standards and enhance energy efficiency.


SELECTING THE RIGHT MODEL


When specifying a wood fireplace, it’s essential to select a model that not only meets the technical and regulatory requirements but also aligns with the aesthetic and functional needs of your project. Here are some tips:

Compact Models :

Ideal for smaller spaces or modern homes where space efficiency is crucial. The Seguin Stoves range delivers ample heat in a compact vessel. With the aid of the heat shield, it lowers the clearance to the rear wall, tucking the appliance in leaving space for more design possibilities.


(Seguin Visio 8 – Forest House, WA)


High-Capacity Models :

Suitable for large living areas or open-plan designs that require substantial heat output. High-capacity models are designed to efficiently heat expansive spaces, ensuring a consistent and comfortable temperature throughout. Sculpt’s Axis Range offers a perfect solution for such needs, combining powerful heating capabilities with sleek, contemporary design.


(Axis H1600 XXL – Merricks, VIC)


Freestanding or Insert Fireplaces :

Perfect for existing masonry fireplaces, providing a modern upgrade with enhanced efficiency. With the Seguin Cheminees Range, you have the option to install these as a freestanding or as an insert fire, with endless customisation possibilities from a concrete bench or a stone clad feature chimney.


(Seguin Visio 8 – Forest House, WA)


Specifying the right wood fireplace for your project involves careful consideration of compliance standards, heating requirements, design preferences, and installation specifics. By selecting a fireplace that meets the updated Australian standards and suits the unique needs of your space, you can enjoy the warmth and ambiance of a wood fire while ensuring safety and efficiency.

At Sculpt Fireplace Collection, we offer a range of high-quality, compliant wood fireplaces to meet diverse design and heating needs. Explore our collection to find the perfect fireplace for your next project.

Installation, – when dreams become reality

Posted on May 20th, 2016 by Admin@Sculpt

The most important step of course, is choosing the design and positioning of your handmade fireplace. It’s then time to hand over to your let plumber or builder (check your states requirements on which professional you need) to turn your dreams into reality, by installing your Sculpt Fireplace Collection wood heater. The installation process can be difficult to wrap your head around and let’s face it, is quite boring to the average homeowner! At Sculpt Fireplaces we present every unit purchased with a pack containing all the relevant information needed to enjoy your chosen wood heater. We want your luxury fireplace to be enjoyed as soon as possible and with the greatest of ease so we do our utmost to take as much stress from the process from you and your installer as we can. All our Seguin and Axis units are not zero clearance (which means they cannot be installed into a combustible wall) and have specific requirements to comply to Australian & New Zealand Standard AS/NZS 2918:2001. There’s an awful lot of tradey jargon and technical talk, so here’s a little outline of the installation process in pictures. You too can follow along with us…BlankWall

Installation process step one – laying the heel

It goes without saying that the hearth and installation be carried out by a qualified pro – what’s the point of tempting fate in your investment? The non-combustible base (hebel, for example) must be a minimum of 75mm thick.

Laying The Hebel

Sculpt Fireplaces Installation process Laying the hebel

Stainless steel framing – installation process step two.

If the unit is less than the distance to the clearance to combustibles (See product brochure for these distances) the non combustible surface must be continued up to a minimum height.

Building the metal frame

A steel stud is then built to the measurements of the units and must include internal clearance dimensions also. This can be a tricky calculation, but you basically take the unit dimensions and add the air gap (25mm minimum), the rockwool (30mm minimum) & the steel stud frame (51mm minimum).

Hanging the Rockwool – installation process step three.

Hanging The Rockwool

We use rockwool, the specifics of the product are; Rock R 350 pure alfoil faced, 1200 x 600 x 30. This will mean nothing to anyone but your builder, but our install team highly recommend using the foil facing rockwool to achieve a greater efficiency for the unit and heating output, it gives a better, cleaner finish when sealing with heat tape.

Supporting the Hebel – installation process step four.

Supporting The Hebel

In this particular install we have supported the hebel with steel supports as the hebel is not a solid, hard surface, it’s an added componenet to ensure the longevity of the masonry surround for a lifetime.

Inserting the unit – installation process step five.

Inserting The Unit


Ready To Close

Quality artisan craftsmanship comes with a hefty proviso, some of our Sculpt fireplaces can be as weighty as 530 kg’s!

Ready to close – installation process step six.

Building It In

This is the stage where the puzzle starts piecing itself together, the remaining steel framwork can be finalised, it’s been a pretty long process so you’ll be pleased to know at this stage there’s only a couple more step to go.

Fluing it up – installation process step seven.

Fluing It Up

The triple skin flue must be selaed

Install complete – installation process step eight.

Install Complete

The final stages are to repeat the earlier air gap measurement, rockwool layer, steel stud, and a heat resistant board on top. And hey presto, your Sculpt Fireplace is ready to become part of your grand interior. Following are a few things to remember for the install process.

  1. A minimum of 2 air grilles are to be positioned at either side of the masonry enclosure. These grilles must be a minimum of 300mm (w) x 100mm (h). And remember the more air to circulate, the better the draw, which means better heat transfer.
  2. Brickwork or the frame around the unit must occur after the unit is in situ
  3.  A steel frame is the only option for internal enclosure – no combustibles…This is quite an obvious thing really.
  4. All dimensions are based on minimum size and are in millimeters

Checklist for installation:

  1. Has there been a site inspection by a qualified person?
  2. Are standards and accreditations met?
  3. Have all equipment and products needed been ordered?
  4. Is my installer licensed for this particular product?

Check out Sculpt Fire Collection install manual here

Most importanly, please, please enjoy your perfect wood heater.

Installation Process : When Dreams Become Reality

Posted on May 20th, 2016 by Jade@Sculpt

The most important step of course, is choosing the design and positioning of your handmade fireplace. It’s then time to hand over to your let plumber or builder (check your states requirements on which professional you need) to turn your dreams into reality, by installing your Sculpt Fireplace Collection wood heater. The installation process can be difficult to wrap your head around and let’s face it, is quite boring to the average homeowner! At Sculpt Fireplaces we present every unit purchased with a pack containing all the relevant information needed to enjoy your chosen wood heater.

We want your luxury fireplace to be enjoyed as soon as possible and with the greatest of ease so we do our utmost to take as much stress from the process from you and your installer as we can. All our Seguin and Axis units are not zero clearance (which means they cannot be installed into a combustible wall) and have specific requirements to comply to Australian & New Zealand Standard AS/NZS 2918:2001. There’s an awful lot of tradey jargon and technical talk, so here’s a little outline of the installation process in pictures. You too can follow along with us…


Step One : Laying The Hebel

It goes without saying that the hearth and installation be carried out by a qualified pro – what’s the point of tempting fate in your investment? The non-combustible base (hebel, for example) must be a minimum of 75mm thick.

Laying The Hebel

Sculpt Fireplaces Installation process Laying the hebel

Step Two : Stainless Steel Framing

If the unit is less than the distance to the clearance to combustibles (See product brochure for these distances) the non combustible surface must be continued up to a minimum height.

Building the metal frame

A steel stud is then built to the measurements of the units and must include internal clearance dimensions also. This can be a tricky calculation, but you basically take the unit dimensions and add the air gap (25mm minimum), the rockwool (30mm minimum) & the steel stud frame (51mm minimum).

Step Three : Hanging the Rockwool

Hanging The Rockwool

We use rockwool, the specifics of the product are; Rock R 350 pure alfoil faced, 1200 x 600 x 30. This will mean nothing to anyone but your builder, but our install team highly recommend using the foil facing rockwool to achieve a greater efficiency for the unit and heating output, it gives a better, cleaner finish when sealing with heat tape.

Step Four : Supporting the Hebel

Supporting The Hebel

In this particular install we have supported the hebel with steel supports as the hebel is not a solid, hard surface, it’s an added componenet to ensure the longevity of the masonry surround for a lifetime.

Step Five : Inserting The UnitInserting The Unit

Ready To Close

Quality artisan craftsmanship comes with a hefty proviso, some of our Sculpt fireplaces can be as weighty as 530 kg’s!

Step Six : Ready To Close

Building It In

This is the stage where the puzzle starts piecing itself together, the remaining steel framwork can be finalised, it’s been a pretty long process so you’ll be pleased to know at this stage there’s only a couple more step to go.

Step Seven : Fluing It Up

Fluing It Up

The triple skin flue must be sealed

Step Eight  Complete Enclosure

Install Complete

The final stages are to repeat the earlier air gap measurement, rockwool layer, steel stud, and a heat resistant board on top. And hey presto, your Sculpt Fireplace is ready to become part of your grand interior. Following are a few things to remember for the install process.


  1. A minimum of 2 air grilles are to be positioned at either side of the masonry enclosure. These grilles must be a minimum of 300mm (w) x 100mm (h). And remember the more air to circulate, the better the draw, which means better heat transfer.
  2. Brickwork or the frame around the unit must occur after the unit is in situ
  3.  A steel frame is the only option for internal enclosure – no combustibles…This is quite an obvious thing really.
  4. All dimensions are based on minimum size and are in millimetres

Checklist for installation:

  1. Has there been a site inspection by a qualified person?
  2. Are standards and accreditations met?
  3. Have all equipment and products needed been ordered?
  4. Is my installer licensed for this particular product?

Check out Sculpt Fire Collection install manual here

Most importantly, please, please enjoy your perfect wood heater.

wpChatIcon