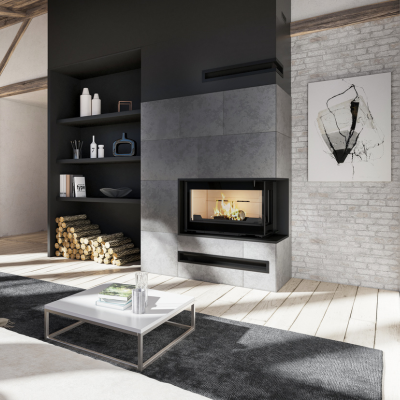
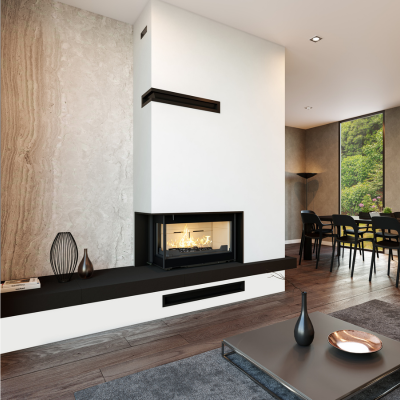
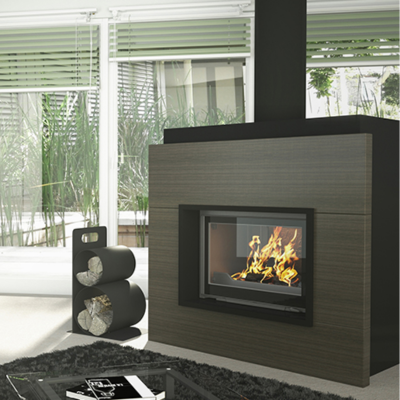
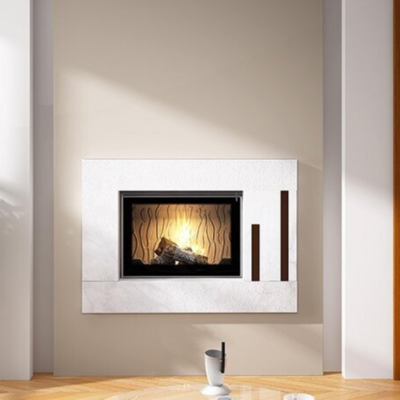
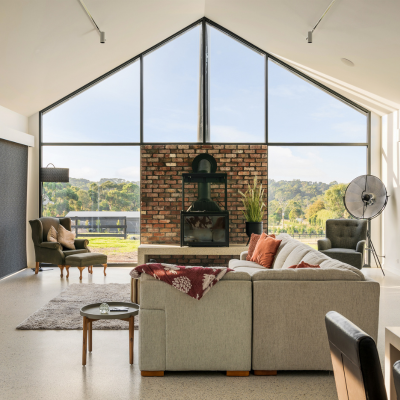
Installation Process : When Dreams Become Reality
The most important step of course, is choosing the design and positioning of your handmade fireplace. It’s then time to hand over to your let plumber or builder (check your states requirements on which professional you need) to turn your dreams into reality, by installing your Sculpt Fireplace Collection wood heater. The installation process can […]
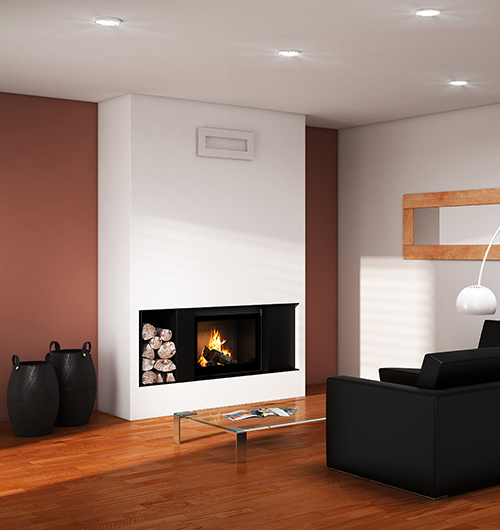
The most important step of course, is choosing the design and positioning of your handmade fireplace. It’s then time to hand over to your let plumber or builder (check your states requirements on which professional you need) to turn your dreams into reality, by installing your Sculpt Fireplace Collection wood heater. The installation process can be difficult to wrap your head around and let’s face it, is quite boring to the average homeowner! At Sculpt Fireplaces we present every unit purchased with a pack containing all the relevant information needed to enjoy your chosen wood heater.
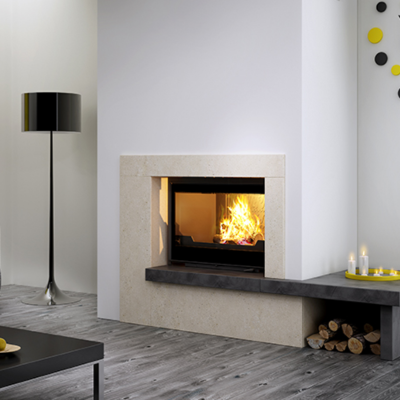
We want your luxury fireplace to be enjoyed as soon as possible and with the greatest of ease so we do our utmost to take as much stress from the process from you and your installer as we can. All our Seguin and Axis units are not zero clearance (which means they cannot be installed into a combustible wall) and have specific requirements to comply to Australian & New Zealand Standard AS/NZS 2918:2001. There’s an awful lot of tradey jargon and technical talk, so here’s a little outline of the installation process in pictures. You too can follow along with us…
Step One : Laying The Hebel
It goes without saying that the hearth and installation be carried out by a qualified pro – what’s the point of tempting fate in your investment? The non-combustible base (hebel, for example) must be a minimum of 75mm thick.


Step Two : Stainless Steel Framing
If the unit is less than the distance to the clearance to combustibles (See product brochure for these distances) the non combustible surface must be continued up to a minimum height.

A steel stud is then built to the measurements of the units and must include internal clearance dimensions also. This can be a tricky calculation, but you basically take the unit dimensions and add the air gap (25mm minimum), the rockwool (30mm minimum) & the steel stud frame (51mm minimum).
Step Three : Hanging the Rockwool

We use rockwool, the specifics of the product are; Rock R 350 pure alfoil faced, 1200 x 600 x 30. This will mean nothing to anyone but your builder, but our install team highly recommend using the foil facing rockwool to achieve a greater efficiency for the unit and heating output, it gives a better, cleaner finish when sealing with heat tape.
Step Four : Supporting the Hebel

In this particular install we have supported the hebel with steel supports as the hebel is not a solid, hard surface, it’s an added componenet to ensure the longevity of the masonry surround for a lifetime.
Step Five : Inserting The Unit


Quality artisan craftsmanship comes with a hefty proviso, some of our Sculpt fireplaces can be as weighty as 530 kg’s!
Step Six : Ready To Close

This is the stage where the puzzle starts piecing itself together, the remaining steel framwork can be finalised, it’s been a pretty long process so you’ll be pleased to know at this stage there’s only a couple more step to go.
Step Seven : Fluing It Up

The triple skin flue must be sealed
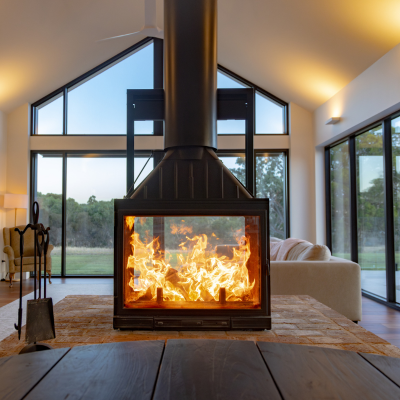
Step Eight Complete Enclosure

The final stages are to repeat the earlier air gap measurement, rockwool layer, steel stud, and a heat resistant board on top. And hey presto, your Sculpt Fireplace is ready to become part of your grand interior. Following are a few things to remember for the install process.
- A minimum of 2 air grilles are to be positioned at either side of the masonry enclosure. These grilles must be a minimum of 300mm (w) x 100mm (h). And remember the more air to circulate, the better the draw, which means better heat transfer.
- Brickwork or the frame around the unit must occur after the unit is in situ
- A steel frame is the only option for internal enclosure – no combustibles…This is quite an obvious thing really.
- All dimensions are based on minimum size and are in millimetres
Checklist for installation:
- Has there been a site inspection by a qualified person?
- Are standards and accreditations met?
- Have all equipment and products needed been ordered?
- Is my installer licensed for this particular product?
Check out Sculpt Fire Collection install manual here
Most importantly, please, please enjoy your perfect wood heater.
Tags: axis, Install - when dreams become reality, installation, seguin